
Anhydrite and Cement Screeds in Autumn: When to Measure Moisture and How to Perform CM Testing Without Errors
In autumn, screeds dry slower than in summer, and the temptation to speed up work grows with deadline pressure. This text shows when and under what conditions you can measure screed moisture, how to perform CM testing step by step, and how to document the result so it protects the contractor rather than burden them in disputes.
Why autumn complicates screed drying
Lower air temperature and higher relative humidity are two factors that extend water evaporation from the screed. Water must first pass through the screed's capillaries to the surface, then evaporate into the air — with humid, cold air, this second stage slows down, regardless of how well the screed binds from within. A shorter day also means less natural heating of the room by the sun.
Anhydrite and cement screeds react differently. Anhydrite screed is a binder based on anhydrous calcium sulfate and loses surface strength when moisture enters it from outside — which is why dryness requirements before flooring installation are stricter for it than for cement. Cement screed tolerates more residual moisture, but takes longer to reach low CM values because cement binds water chemically and releases it gradually.
The most common autumn mistake is turning on building heating without simultaneous ventilation. Warm air draws moisture from the screed, but if there's nowhere for it to escape — windows closed, no air intake — relative humidity in the room rises, water vapor condenses on cooler surfaces, and the drying process loops back on itself. Rule for the site: heat and ventilate alternately, don't heat "with everything closed."
How long you really need to wait
Anhydrite screed drying time depends on external conditions and layer thickness — in practice, it averages 2–6 weeks. The thicker the layer and poorer the conditions (cold, moisture), the closer to the upper end of this range.
For cement screed, the classic seasoning period before tile installation is 28 days. With fast-setting and fast-drying mortars, under favorable thermal-humidity conditions, installation may be possible after 2–3 days — but this must always be verified against the technical data sheet of the specific product, as the manufacturer sets the final deadline for their mortar.
If the building has radiant floor heating, the curing protocol (usually 14–28 days, with daily readings of supply and return temperature) accelerates moisture removal from the screed, but does not replace final testing. CM measurement is performed only when the floor has completely cooled and room conditions have stabilized for several days after heating is turned off — measuring "while hot" or immediately after turning off falsifies the result downward.
Do not speed up drying with spot heaters or dehumidifiers placed close to the surface. Uneven, too-rapid drying of the cement screed's top layer leads to its deformation (edge curling) and later cracking — the surface dries and shrinks faster than the core. Decisive rule: dry evenly across the entire surface, not spot-wise, and never raise temperature abruptly.
Acceptable moisture values before flooring installation
Thresholds vary depending on the type of flooring, so the same CM result may be acceptable under panels but too high for large-format tiles.
Under wooden panels and parquet: cement screed — up to 2% CM without radiant floor heating, up to 1.8% with heating; anhydrite screed — up to 0.5% without heating, up to 0.3% with heating. In practice, flooring manufacturers also encounter slightly more lenient values (up to 2.5% for cement, up to 1.5% for anhydrite) — the technical data sheet of the specific product always decides.
Under vinyl panels (most moisture-sensitive): cement screed up to 1.5% CM, anhydrite up to 0.3% CM — regardless of heating.
Under ceramic tiles, especially large-format (side ≥40 cm or grout ≤3 mm): cement screed up to 1% CM without heating / up to 0.5% with heating, and for large-format sizes the threshold tightens to 0.5%/0.3%. Anhydrite screed under tiles — up to 0.5% without heating, up to 0.3% with heating. Tiles with area ≥0.5 m² on anhydrite screed are particularly sensitive to debonding, so with such formats consider priming the surface with epoxy primer or applying a cement overlay instead of relying solely on the CM result.
The general rule of "air-dry substrate" (4–5% mass moisture) applied to concrete reception alone is not enough to decide on flooring installation — always apply the CM threshold appropriate for the specific finishing material and type of screed, not the general threshold for concrete substrate.
How to correctly perform CM testing step by step
Arrange measurement points to represent the entire room — avoid measuring only by the entrance wall. Avoid measuring directly above radiant floor heating pipes — the result there will be artificially low compared to the rest of the surface and won't reflect the true state of the screed.
Testing steps:
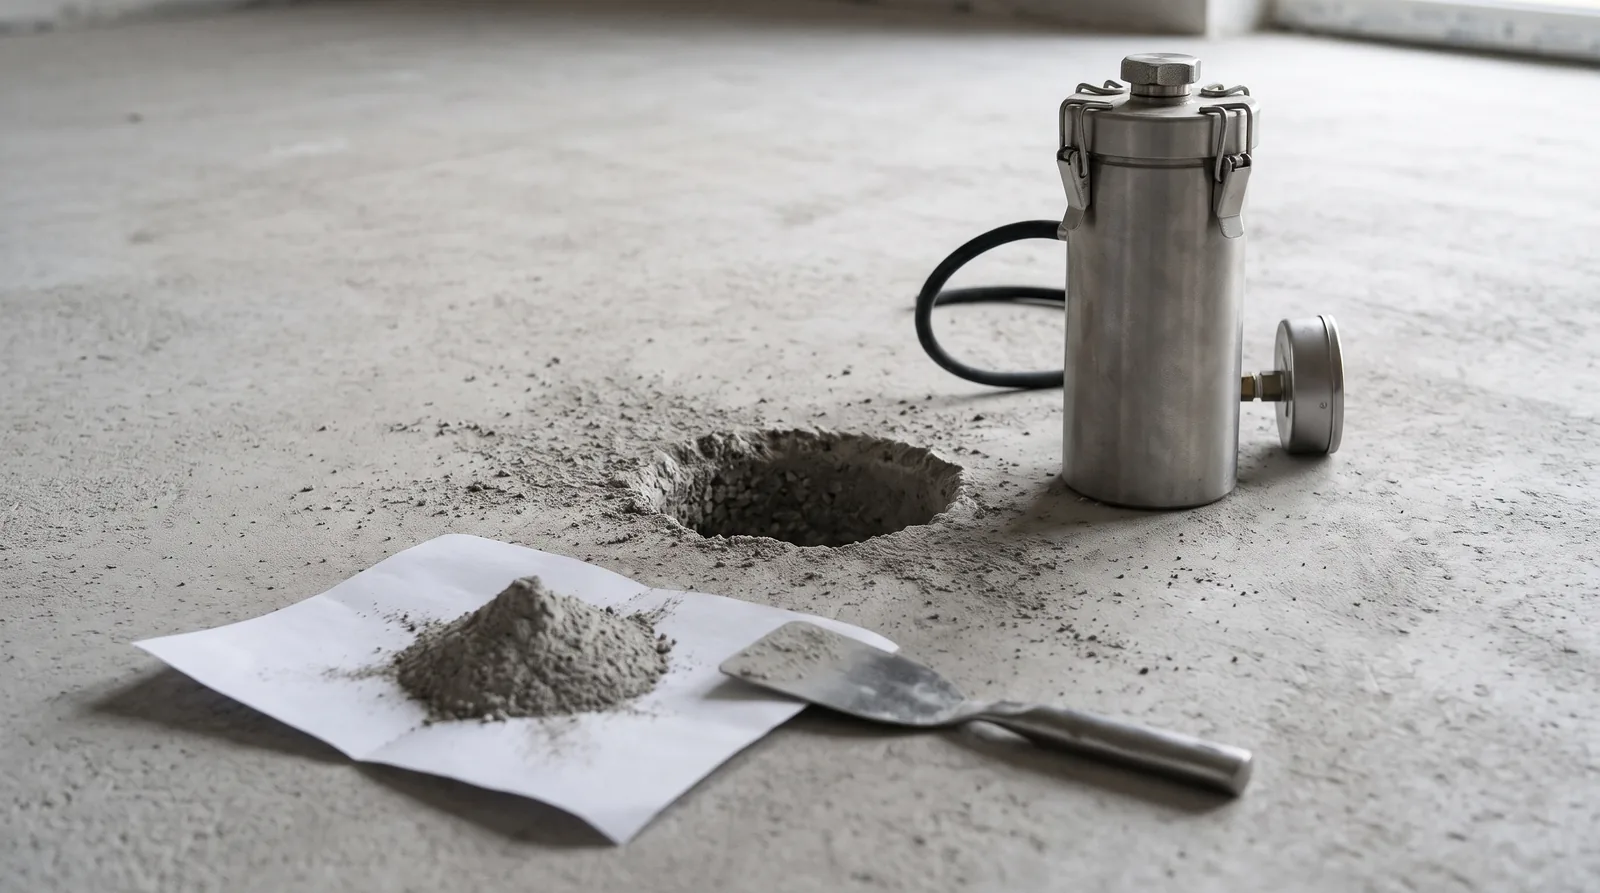
- Take a sample from the interior of the screed, not from the top layer — always discard the top layer.
- Do not use mechanical devices for chipping — they heat the material and change its moisture during sampling.
- Comminute and weigh the sample quickly to prevent water evaporation before testing.
- Do not touch the collected material with your bare hand.
- Crush the sample to fractions no larger than 2 mm; discard or crush larger pieces with a hammer.
- Weigh 20 g of material, place in a steel container with manometer together with a calcium carbide ampule and steel balls.
- Shake the container for approximately 3 minutes until the balls break the ampule.
- Wait approximately 20 minutes and read the pressure from the manometer, converting it to mass moisture.
Most common errors that falsify results: poor CM hygrometer calibration (uncalibrated or old device underreads or overreads), contaminated sample (touched by hand, from top layer, with construction dust), measurement immediately after turning off radiant floor heating (screed still warm, result underread), too-slow sampling and comminution (moisture will evaporate before reaching the container).
Documenting results for acceptance and warranty
A CM testing protocol, to have evidentiary value, should contain: date and time of measurement, room air temperature and humidity, type and thickness of screed, exact location of each measurement point, result for each point, threshold limit appropriate for the given flooring, and signature of the person performing the measurement. If the building has radiant floor heating, also attach reference to the curing protocol (e.g., compliance with PN-EN 1264) and its completion date — CM result alone without information on whether heating was properly shut down and cooled is difficult to defend.
A photo of the hygrometer showing the reading, measurement location, and date, saved together with the protocol in FixControl, allows you to later clearly demonstrate when and under what conditions the test was performed — this is the difference between "we claim we measured" and evidence of a specific day and result.
Liability: if measurement showed a value above the threshold and flooring was still installed, responsibility for consequences (swelling, debonding) falls on the flooring contractor who decided to continue work — regardless of deadline pressure from the investor. A site inspector who saw too high a result and did not halt work also risks accusations of negligence. The complete absence of any protocol in a dispute works against whoever installed the flooring — it is then presumed that moisture was not checked.
Most common defects after premature flooring installation
Panel swelling is the effect of moisture migrating from the screed into the HDF core — the panel expands in joints, "waves" appear on the surface, usually weeks to several months after installation, often after the first heating season.
Tile debonding on anhydrite screed results from weakening of the screed surface by moisture from normally-bonding adhesive — the weakened layer cannot withstand shear stresses arising from temperature changes, especially under large-format tiles (≥0.5 m²). The symptom usually appears not immediately, but after the first heating season, when temperature differences are greatest.
Odor and mold stains under covering are the result of trapping moisture under the vapor barrier layer — the covering or adhesive don't allow water to evaporate, so moisture remains in the screed and flooring materials.
How to distinguish fault of too-wet screed from bonding or installation error: if there is a CM protocol with a result consistent with the threshold for the given flooring, and a defect still occurred, look for causes in the adhesive (wrong type, too-thick layer, too-short open time) or in installation itself (lack of expansion joints, poor baseboards). If there is no protocol or the result exceeded the threshold, first assume moisture fault — it is the most common and cheapest cause to prove in such disputes.
Sources
- Engineer's Guide: Testing substrate moisture - CM/carbide method — https://poradnikinzyniera.pl/badanie-wilgotnosci-podloza-metoda-cm-karbidowa/
- Construction Engineer: Large-format tile cladding - Part II — https://inzynierbudownictwa.pl/okladziny-z-plyt-wielkoformatowych-cz-ii/
- Wolff Tools: Standards and methods for measuring flooring moisture under panels and parquet — https://pl.wolff-tools.com/produkty/porady/normy-oraz-sposoby-pomiaru-wilgotnosci-posadzki-pod-panele-i-parkiet
- Adrem: Flooring curing protocol - complete guide — https://adrem.org.pl/protokol-wygrzewania-posadzki-kompletny-przewodnik/