
Curing concrete with underfloor heating: procedure and handover protocol
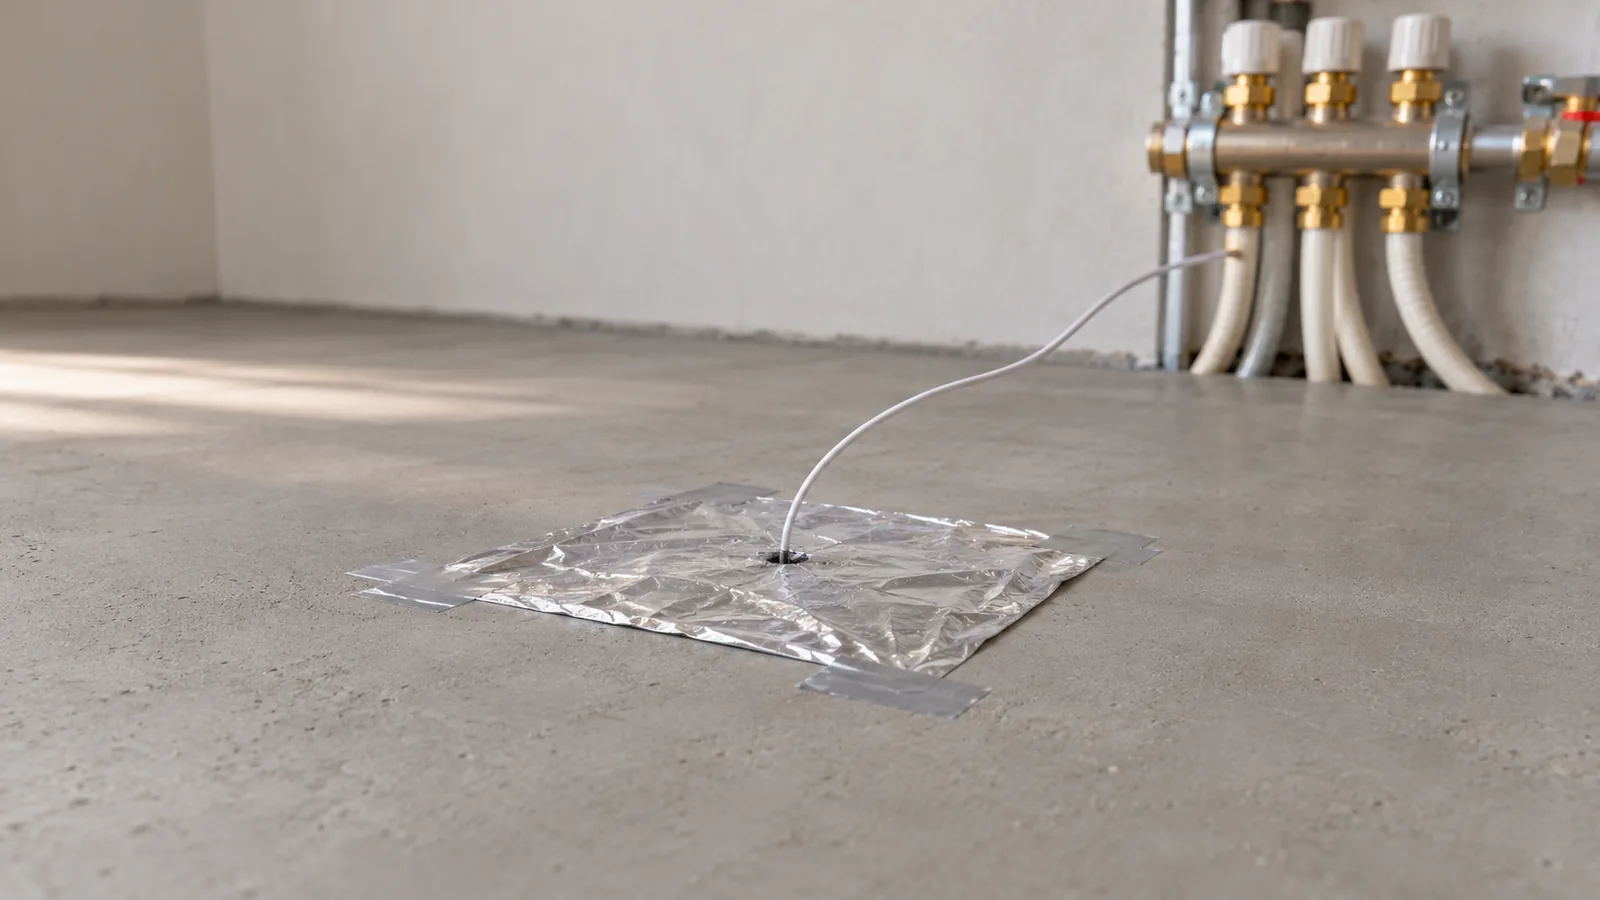
Curing a screed is a stage that most often gets rushed before the deadline for handing over the premises, and then comes back as a dispute over a cracked floor. This article shows when to start, how to manage temperature day by day, and what must be included in the protocol so it holds up during handover and under warranty.
When curing is allowed to start
For cement screeds the minimum time before starting heating is 21 days. For anhydrite screeds (liquid calcium sulphate-based screeds) manufacturers specify 7 days as standard, some systems allow starting on day 5 — always check this in the technical sheet of the specific product, because a 2-day difference with fresh screed matters.
For the first 48 hours after pouring, protect the screed from drafts, direct sunlight and frost. From day 3, the room must be intensively ventilated — simply opening a window is not enough, real air circulation is needed. Throughout the maturation period until heating starts, the room temperature cannot drop below 5°C — a drop below this threshold risks permanent damage to anhydrite screed, not just delayed drying.
Decision rule: if the required time from pouring has not elapsed or the room temperature has dropped below 5°C — stop. Starting before this time is up results in cracks and warping that can no longer be repaired cheaply.
Heating procedure step by step
For anhydrite screeds the most common heating pattern looks like this: start at a flow temperature of 25°C and maintain it for 3 days. Then raise the temperature by 5°C per day until you reach the maximum — depending on the system 55°C (standard for most anhydrite screeds) or lower if the technical sheet of a low-temperature system requires it. The maximum temperature must not be exceeded and must not be lowered at night during the entire heating cycle — this is one of the few specifications that manufacturers emphasize directly as a prohibition.
You maintain maximum temperature until the screed is dry, with no strict day limit — as a rough guide, after 10–12 days of heating you do the first check with a plastic sheet test.
Some systems (e.g. Supaflo) use a gentler startup: first 2 days maximum 20°C at inlet, then increase by 5°C every 2 days, maximum 50°C (60°C for electric underfloor heating).
Cool down using the same steps as heating, just in reverse — reduce temperature by 5°C per day until the screed surface reaches 15–20°C (exact value depends on the system). Only after reaching this temperature and after a positive residual moisture test result using the CM method can you lay the flooring.
For cement screeds, standards do not specify such detailed temperature schedules — PN-EN 1264 requires that the heated screed be cured before laying the floor covering, and the specific temperature progression you take from the technical sheet of the binder used. The principle of max. 5°C increase per day and prohibition on exceeding the maximum applies equally.
Curing protocol — what must be included
The protocol is a document that you sign together with the investor and site manager. Minimum data set:
- investor, project/address, contractor and installer, site manager
- screed type and thickness, date of installation, heating type and system
- day-by-day table: date, flow temperature (return temperature if applicable), signature of responsible person
- plastic sheet test result (dry/wet, date, signature)
- residual moisture test result using CM method (value in %, date, signature)
- temperature reduction progress: date, temperature, signature
- date of heating completion and confirmation of substrate readiness for flooring installation
- information on whether rooms were ventilated according to recommendations
Add photographic documentation of controller or distributor settings with visible date — this is inexpensive proof that the temperature was actually as entered in the table. A photo of the controller with date and description of the stage, saved in a handover management app like FixControl, allows you to later reconstruct exactly when and under what conditions the process was conducted — without searching for paper notes years later.
The curing protocol and CM result are two separate documents, but their dates must align: you do the CM test after cooling is complete, not during heating. Permissible residual moisture for underfloor heating substrates is 0.3% regardless of flooring type — higher thresholds (0.5% for moisture-tight flooring, 1.0% for moisture-permeable flooring) apply to screeds without underfloor heating and must not be used as criteria when heating pipes are in the floor.
Common mistakes and their effects in complaints
- No curing before laying panels or tiles — moisture trapped in the screed migrates to the flooring, after several weeks cracks in panels appear, tile debonding, sometimes swelling. In warranty claims this is the first thing an expert will ask: was there a curing protocol.
- Temperature rise too fast, more than 5°C per day — thermal stresses cause screed cracks from the inside, manifesting as shrinkage cracks visible on the surface during the process.
- Lowering temperature at night during heating — cyclic stresses do the same as too rapid temperature rise.
- Curing without a protocol or with incomplete entries — in a dispute over fault for damaged flooring you have nothing to prove the procedure occurred at all. Court or expert looks at the document, not verbal declaration.
- Curing in winter in an unheated building, when room temperature drops below 5°C — risk of permanent anhydrite screed damage and freezing of water-filled heating installation if construction has no permanent heat source yet.
- Skipping the plastic sheet test and relying only on "looks dry" — the plastic sheet test only gives an indication, the only reliable confirmation is measurement with a CM device. If the screed has not matured after standard time, before retrying you need a heating break of around a month, then repeat the entire cycle from the beginning.
Checklist for inspector before approving flooring installation
Before signing approval to start flooring work, check:
- whether the curing protocol is complete: project data, temperature table day by day with signatures, start and end date
- whether the plastic sheet test result is described (dry/wet, date)
- whether there is a CM test result with numerical value and date — for underfloor heating substrate acceptable threshold is 0.3%
- whether the protocol notes that rooms were ventilated according to manufacturer recommendations
- whether the surface shows no cracks, bubbles or residual anhydrite milk (loose fraction on anhydrite screed surface that must be sanded before bonding)
- whether room temperature did not drop below 5°C during maturation
If any of the above points is missing or the CM result is higher than the acceptable threshold — demand the procedure be repeated, do not sign approval "conditionally". Every step: controller photo, protocol scan, CM result with date, is worth attaching immediately to the case in a handover management app, with assigned status and responsible person. This resolves disputes faster than finding witnesses after the fact.
Sources
- Knauf / Marathon Anhydrite Screeds: Operating conditions for liquid floor substrates produced on the basis of calcium sulphate/anhydrite by Knauf — https://www.maraton-posadzki.pl/wp-content/uploads/2020/08/Warunki-eksploatacji-wylewek-anhydrytowych.pdf
- AFRISO: SCREED CURING PROTOCOL FOR UNDERFLOOR HEATING - AFRISO.pl — https://afriso.pl/filmy/Protokol_wygrzewania_jastrychu.pdf
- CEMEX Poland: heating-instruction-supaflo-1.pdf - Concrete for Home — https://betonnadom.pl/wp-content/uploads/2022/07/instrukcja-wygrzewania-supaflo-1.pdf
- Termolit / ANHYDRITES Poland Group: ANHYTERM - TERMOLIT — https://www.termolit.pl/do-pobrania/TERMOLIT-Protokol-Wygrzewania-Anhyterm.pdf